Heavy Air Mode: Handling Power in a Breeze
In a breeze a Melges 40 makes more power than it can convert. The physics inverts: driving force falls as cos(heel) while heeling force climbs as sin(heel), the foils approach stall, and the helm loads up. This is the engineering of shedding power, holding heel inside its band, and getting through manoeuvres in control.
13 min read
In heavy air the challenge inverts. A Melges 40 makes more power than it can convert into forward speed, so the problem stops being generation and becomes management: shedding force, holding heel inside a narrow band so the foils keep gripping, and getting through every manoeuvre in control. The fast boat in a breeze is the one that stays on its feet, in its groove and clean through every manoeuvre — not the one carrying the most cloth. It is the mirror image of light-air mode, where every scrap of power is precious.
Why flat is fast — the two mechanisms
The instinct to hang on to power is exactly backwards, for two reasons — one aerodynamic, one hydrodynamic — that reinforce each other, which is why the penalty for heel builds so steeply.
The aerodynamic mechanism is a resolution of vectors. The total aerodynamic force on the rig acts roughly normal to the sail plane. Resolve it into the horizontal plane and it splits into a driving component along the boat's track and a heeling component athwartships. When the mast is vertical, the full useful force lives in that horizontal plane. As the boat heels by angle θ, the plane the rig works in tilts: the driving force available at the waterline scales with cos θ while the force trying to push the boat sideways and down scales with sin θ. At 15 degrees of heel you have lost only about 3.4 per cent of your driving component (cos 15° ≈ 0.966); by 30 degrees you have shed roughly 13 per cent (cos 30° ≈ 0.866) and the heeling term is at sin 30° = 0.5 of the force. The trade is non-linear and it accelerates: every extra degree past vertical costs more driving force and adds more heeling force than the degree before.
The hydrodynamic mechanism is foil stall. The keel fin and the rudder are lifting surfaces. They only resist leeway by working at a small angle of attack — a few degrees of leeway generates the sideforce that balances the rig — and, like any foil, they have a lift/drag optimum around 3 to 4 degrees and a stall threshold. Low-aspect appendages typically begin to lose grip somewhere in the region of 12 to 16 degrees of effective angle of attack, beyond which lift collapses and drag climbs sharply. Heel attacks this on two fronts: it tilts the lift vector of the foils away from horizontal so they resist leeway less efficiently, and it reduces the effective span presented to the flow. Past roughly 20 degrees of boat heel the returns collapse — the fin and rudder skew toward their stall region, wetted surface and asymmetric (heeled-hull) drag rise, and the rig's force is increasingly wasted heeling the boat rather than driving it.
Heel also destroys helm balance, and this is the mechanism that ends races. As the leeward bow drives deeper, the immersed hull becomes asymmetric and the centre of lateral resistance moves forward, opening a lever arm between it and the sail plan's centre of effort. That couple is weather helm — a persistent turning moment toward the wind. A balanced boat holds a straight line on three to five degrees of rudder with a light, live feel through the tiller. An over-heeled boat needs far more, and a rudder held at a large angle is a brake: its own angle of attack climbs toward stall, it sheds grip, drag spikes, and eventually it loses the fight and the boat rounds up. The single most reliable speed gain in a breeze is not more sail — it is less heel, a lighter helm and the foils biting cleanly. Heel angle, not boat speed, is the number the crew steers to. See common speed killers for the drag heel quietly adds.
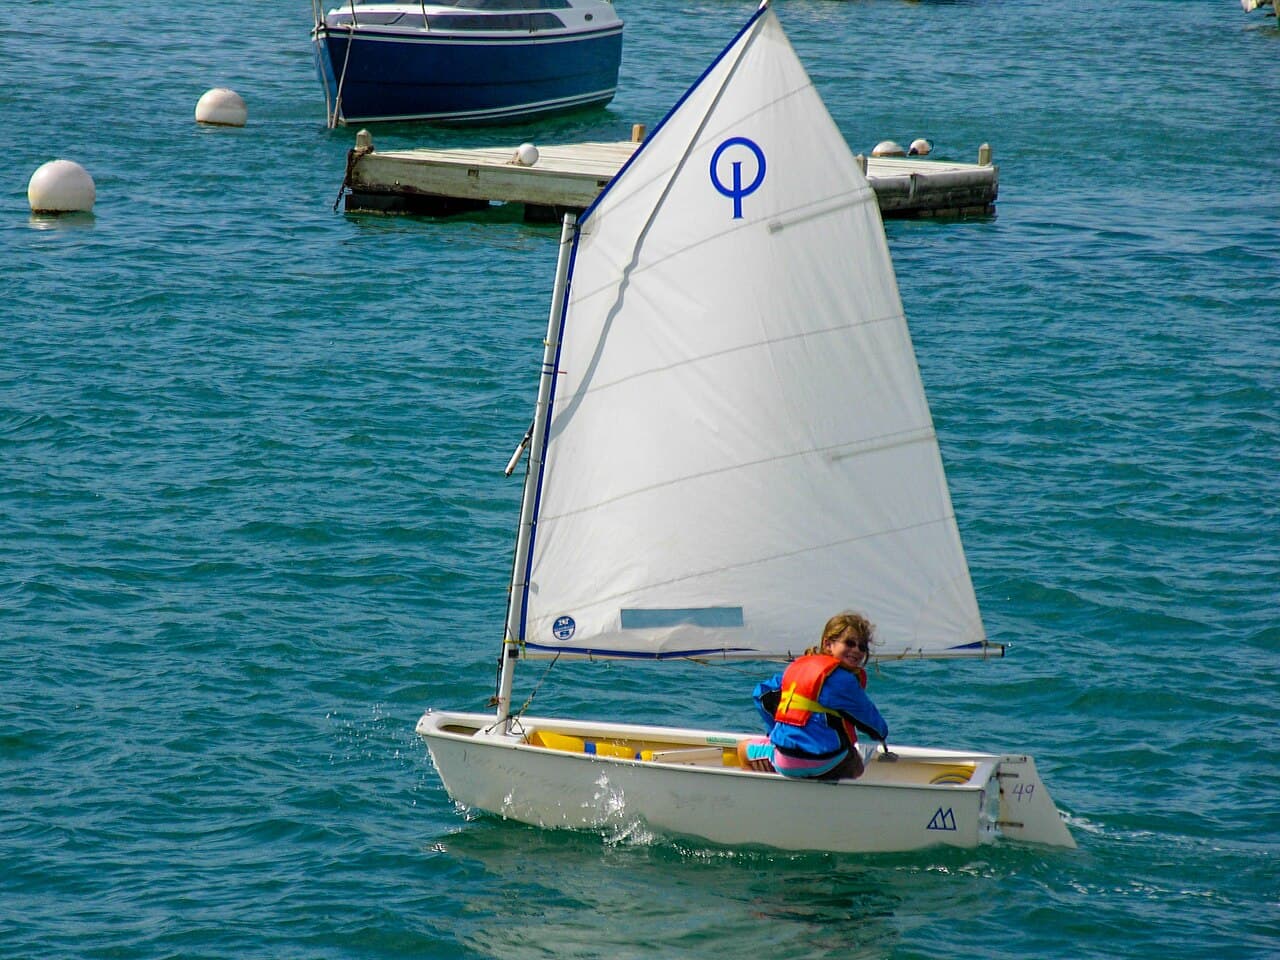
The depowering ladder upwind — what each control physically does
Depowering is a sequence, worked top-down and coarse-last. The order is not arbitrary: the heeling moment is force times height, so the load highest in the rig has the longest lever arm and is worth shedding first; and you want the controls that spill power without disturbing balance or shape before the ones that do.
- Backstay is the primary lever, and it is really a mast-bend control. Tensioning it pulls the masthead aft and down, forcing bend into the upper spar. That bend increases the distance between the straight-line luff and the sailmaker's built-in curve (the moulded camber), so the mainsail is flattened — reduced camber means reduced lift coefficient means less power — and the upper leech twists open so the highest, most heeling-heavy part of the sail spills the strongest wind. On a fractional rig the backstay does a second job through the geometry of the rig: it tightens the forestay, cutting headstay sag, which flattens the jib entry and lets the boat point cleaner instead of the sag adding luff-round and drag. Add it progressively; the limit is just short of over-bending the spar into the sail, which starves the middle and puts an unstable, backwinded crease up the luff.
- Cunningham fights the draft aft-migration that both backstay and rising wind pressure cause. As dynamic pressure loads the cloth, the point of maximum draft wants to blow aft, closing the leech and coarsening the entry; cunningham drags it forward to keep the entry fine and the leech releasing. In a breeze it comes on hard.
- Outhaul flattens the lower third of the main and opens the bottom of the leech by tensioning along the foot. Upwind in strong wind it is at or near maximum.
- Traveller is your live gust control and the trimmer's busiest tool. With mainsheet tension fixing the leech twist, dropping the car to leeward slides the whole sail to leeward and bleeds power instantly to pull the boat back inside its heel band, then you bring it up in the lulls. The virtue is that it depowers without changing twist or the leech profile — the shape you set stays set.
- Mainsheet is the coarse, last-resort ease. Because easing the sheet adds twist and can let the head flog, spilling power unevenly and inefficiently, you only reach for it once the traveller is at the bottom of its track and you still need to dump load.
- Jib trims in sympathy: lead aft to twist the head open and spill the top, halyard and sheet firm to keep the entry flat and driving.
The full mechanics of this ladder live in upwind trim basics; the point in heavy air is that you are living at the powered-down end of every one of these controls at once, and modulating around that operating point with the traveller and the steering.
Steering the groove through gust and wave
Heavy-air helming is active, physical and anticipatory, and it is really angle-of-attack management for the whole boat. The groove is narrower than it feels, and it narrows further in waves because every pitch changes the rig's apparent-wind angle. The driver plays two games at once. In the puffs, feather up a few degrees as the gust arrives — reducing the sails' angle of attack so the front luffs slightly and spills load before the extra pressure can heel the boat — then bear away and rebuild speed as it passes; done in concert with the traveller ease, this holds heel inside its band without stalling forward drive. In the waves, steer to keep the bow driving rather than slamming to a stop, which sheds speed and with it the flow over the foils: bear away a touch to power up and lift over a steep set, then head up on the back of it.
Two failure modes bracket the groove. Get pinned — stuck over on its ear with the rig loaded and the rudder dragging at a large angle — and the foils are near stall, the helm is a brake, and you are slow and vulnerable. Over-feather and the boat stalls head-to-wind: the appendages lose flow, sideforce vanishes, and you slide sideways until speed rebuilds. Both are slow and both invite a loss of control, so trimmer and driver talk constantly — "puff on in three," "big set coming" — so the ease and the feather happen together rather than one chasing the other.
Downwind: survival versus speed
Off the wind the danger changes from too much heel to too much kinetic and aerodynamic energy the boat can suddenly redirect. A Melges 40 planing hard is fast — planing lifts the hull, cuts wetted surface and lets speed run away from the true wind — but at the edge of control a wrong wave, an unseen puff or a lapse can trigger a broach (a round-up to windward as the rudder loses grip) or a death roll (an escalating windward-leeward oscillation ending in a crash gybe). Both are the same underlying event: the centre of effort and the centre of lateral resistance separate faster than the rudder can answer, and once the roll period outruns the helmsman's correction the motion diverges. Two things make it worse specifically downwind. First, apparent wind swings beam-on the instant the boat rolls to windward or starts to round up — the sails, sheeted for a run, are now brutally over-trimmed for a reach and dump a large lateral load in exactly the wrong place. Second, the rudder is a low-aspect, deeply loaded foil running at speed; if the stern lifts on a wave or the quarter wave draws air down the blade it ventilates, lift vanishes, and steering is simply gone. Managing all of this is mostly geometry and weight.
- Crew weight aft. Move everyone back to lift the bow so it does not bury and trip the boat into a broach, and to keep the rudder deeply immersed so it cannot ventilate. A ventilating rudder is the start of most broaches, and immersion is the single cheapest insurance against it.
- Vang firm. Counter-intuitively you keep the mainsail vang on in a breeze downwind. A loaded leech holds power in the main that opposes the spinnaker's pull and damps the roll — it raises the roll-restoring moment and takes energy out of each oscillation. Easing the vang to depower increases rolling and can trigger the death roll, which is exactly backwards from the upwind instinct.
- Choke the kite in. Over-trim the spinnaker sheet so the sail sits ahead of the boat rather than wandering out to the side, where it develops a long lever arm and yanks the bow off course. A kite on a short leash keeps its centre of effort close to the centreline where the rudder can still answer it.
- Sail a controlled angle, steer under the rig. Rather than running dead square — where the apparent wind is lowest, the kite is least stable and any roll instantly loads the rig sideways — hold a higher, faster line to keep apparent wind forward, and steer to keep the mast underneath the sail plan: head up as the boat rolls to windward, bear away as it rolls to leeward, so the rig stays overhead instead of levering the hull over. If it does let go, the recovery is to luff main and kite to kill the driving force, bear away below your target to a course you can control, then rebuild speed and work back up. Gybes get their own care in a breeze: pick the flat water, keep boat speed up to bleed apparent wind before the turn, and choreograph it cleanly rather than quickly. The mechanics are in gybe choreography and downwind mode basics.
The Melges 40 in a breeze
A few characteristics of the class shape how all of this plays. The boat is an all-carbon, foam-cored epoxy one-design with a fractional rig and a square-topped mainsail, and its defining feature is a canting keel — an electrically actuated fin carrying a weighted bulb that swings to windward to add righting moment. Public class descriptions put the boat at roughly 12 metres LOA, about 3,250 kg displacement with a lead bulb of the order of 1,100 kg (widely quoted as 2,425 lb) on a fin of around 3 metres, canting up to 45 degrees each side; the sail plan is commonly listed at about 72 m² main, 49 m² jib and 200 m² gennaker, and the cant is often described as buying roughly 20 per cent more righting moment than a comparable fixed-keel 40. Treat every one of those numbers as needing verification against the current class rules and your own boat's documentation before you rely on them — cant angle, ballast, sail dimensions and rig settings must come from the class rule book and the boat's own paperwork, not a general article.
The physics of the cant is worth stating precisely, because it explains why the crew still has to work. Righting moment is RM = W · GZ, where the righting arm GZ is the transverse distance between the centre of gravity and the line of buoyant support. Canting the bulb to windward shifts the centre of gravity to windward, lengthening GZ and so raising RM for the same displacement — that is the whole trick, and it is why a canting-keel boat can carry sail on relatively light ballast. But the cant is a static, per-leg righting-moment setting, not a live gust dump: it is set for the beat or the run and does not react to a puff in real time. So the depowering ladder and heel discipline above are still doing the moment-to-moment work — hiking, sail trim and steering hold the boat flat within the band — while the keel provides the background reserve of stability the whole platform is designed around.
Because it is a strict one-design, the sail inventory and the settings you may carry are constrained by the rules, which deliberately keeps the number of levers small and makes gear changes decisions you plan before the start rather than improvise. And because the platform is light, stiff and heavily canvassed — a very high sail-area-to-displacement ratio — it accelerates hard and loads its gear hard, so the heavy-air premium on clean crew work, sound preparation and disciplined manoeuvres is high; the loads that build in a broach or a botched gybe are proportionally larger than on a heavier boat. Read canting keel explained, what makes the Melges 40 fast and the class-specific figures in the systems guide alongside your official documentation.
The takeaway
Heavy-air mode is control, balance and cleanliness, not bravado, and the engineering says why. Driving force falls as cos(heel) while heeling force climbs as sin(heel), and the foils approach stall and the helm loads up past about 20 degrees — so you shed power from the top down, hold the boat inside its heel band, and steer the groove actively through gust and wave to keep the sails and the appendages below their stall thresholds. Upwind you sail flat and feathered; downwind you keep weight aft to stop the rudder ventilating, the vang loaded to damp the roll, and the kite choked to keep its lever short, and you steer under the rig so the centre of effort stays over the centre of lateral resistance. The breeze race is usually won by the boat that never has the big moment — and lost by the one that does. For the opposite discipline see light-air mode, and for the errors a breeze punishes hardest, common speed killers.
Frequently asked questions
- What is the correct order to depower upwind in heavy air?
- Work top-down and coarse-last, because the top of the rig has the longest heeling arm and the finest controls cost the least speed. First add backstay to bend the mast, flatten the main and twist the upper leech open — that sheds the highest, most heeling-heavy load and, on a fractional rig, also tightens the forestay and reduces headstay sag. Then cunningham to drag the draft forward against the load, and outhaul to flatten the lower third. Use the traveller as live gust control, dropping it to leeward to spill instantly without changing twist; only ease the mainsheet — which adds twist and lets the head flog — once the traveller is at the end of its track. Hold the boat inside its heel band throughout, because heel, not sheet position, is the number that governs foil grip and helm load.
- Why does keeping the boat flat make it faster in a breeze?
- Two mechanisms. Aerodynamically, the sail force resolves as driving force scaling with cos(heel) and heeling force with sin(heel), so as the boat lies over you trade thrust for side force — at 30 degrees you have already shed roughly 13 per cent of the forward component and added heel and leeway. Hydrodynamically, the keel and rudder are lifting foils with a stall threshold; heel skews their effective angle of attack and reduces span, so past about 20 degrees they lose grip, wetted surface and asymmetric drag climb, and the immersed leeward bow drives the centre of lateral resistance forward to build weather helm. A balanced boat carries three to five degrees of rudder; an over-heeled one needs far more, and a rudder cranked over is a brake. Flatter keeps the foils below stall, the helm light and the force pointed forward.
- How do you avoid a broach or death roll downwind when it's windy?
- Both are the centre of effort and centre of lateral resistance separating faster than the rudder can answer. Move crew aft to lift the bow, keep the low-aspect rudder deeply immersed so it does not ventilate, and keep the vang firm so the loaded main leech resists the kite and damps the roll — easing vang to depower makes rolling worse. Choke the kite in with over-sheet so it stays ahead of the boat rather than wandering and levering the bow off. Sail a controlled higher angle to keep apparent wind forward and steer under the rig. If it lets go, luff main and kite, bear away below target to a course you control, then rebuild.
- When should you change to smaller or flatter sails rather than just depowering?
- When the controls saturate. Once backstay is near maximum, the traveller is at the bottom of its track, cunningham and outhaul are hard on, and you are still outside your heel band and fighting helm, the depowering ladder has run out of range and the sail is simply too full or too large for the wind. On a strict one-design the permitted inventory and the class rules govern what you can carry, so the number of levers is deliberately small and the transition is planned before the start — you decide your rig-tune band and sail selection on the dock, not at the windward mark.
Related articles
Light Air Mode: Sailing the Boat in Little Breeze
Light air is a low-Reynolds problem: sail chords drop into the laminar-separation-bubble regime and skin friction dominates hull drag. Sag the forestay to deepen the jib entry, add twist so the leech doesn't stall, heel to shed wetted area, keep weight forward, low and still, and defend momentum above all.
Read the articleUpwind Trim Basics on a Powered-Up Keelboat
Expert upwind trim: matching jib and main twist to the 3-5° wind-gradient shear, tuning headstay sag to the sailmaker's luff hollow, holding target heel so induced drag (which climbs with leeway squared) stays low, and steering the groove for best VMG on a canting-keel one-design.
Read the articleCommon Speed Killers
Seven avoidable faults bleed the most boatspeed — over-trimming, wrong gear, dirty air, rough helming, weight placement, a dragging rudder and a fouled bottom. The physics behind each, the numbers that define good, and how to fix the cause not the symptom.
Read the article